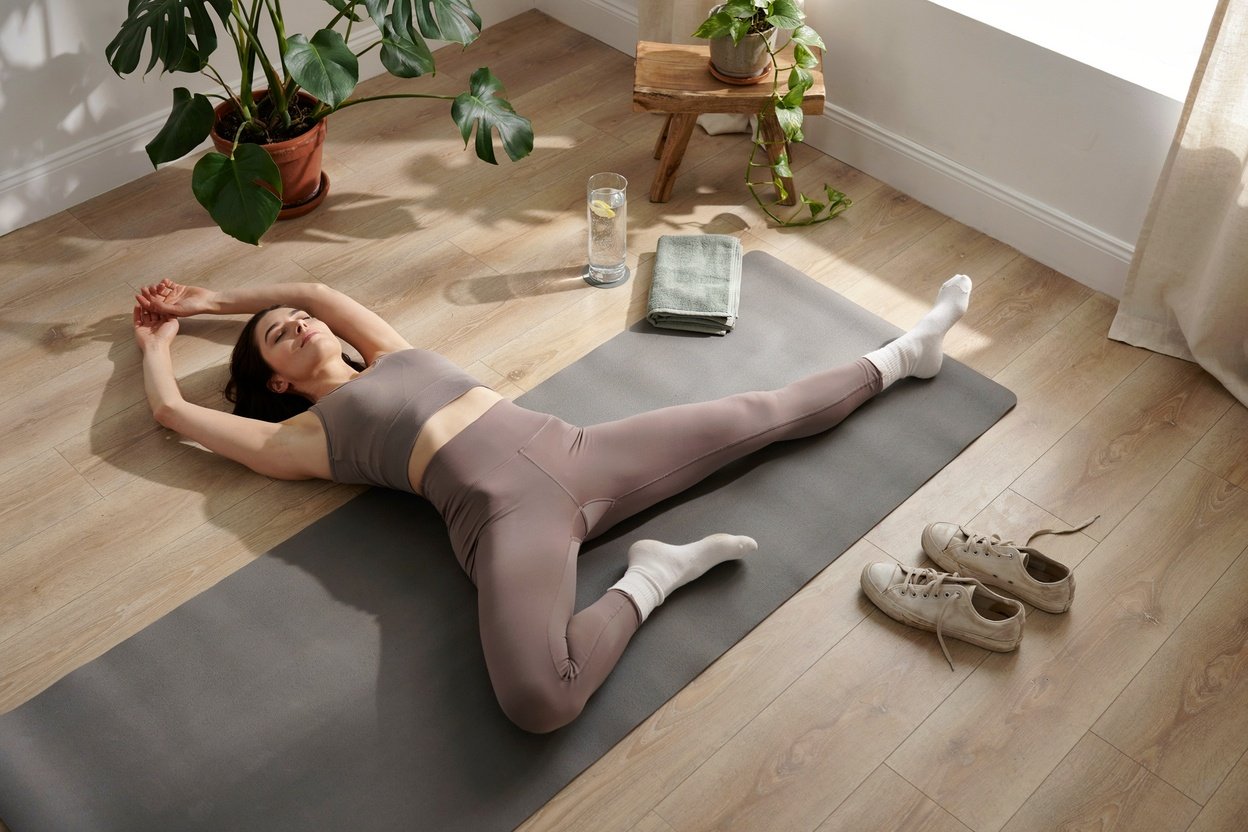
There’s a very specific kind of uncomfortable that comes from feeling bloated and backed up, and I’ve found more relief from a short, targeted yoga sequence than from just lying on the couch waiting for it to pass.
This isn’t a coincidence. Certain yoga poses genuinely help move things along by gently compressing and twisting the abdomen, which can stimulate the intestines and encourage trapped gas to move through the digestive tract.
This routine takes about 10 minutes and uses a handful of poses specifically known for their effect on digestion, rather than a general flexibility or strength-focused sequence.
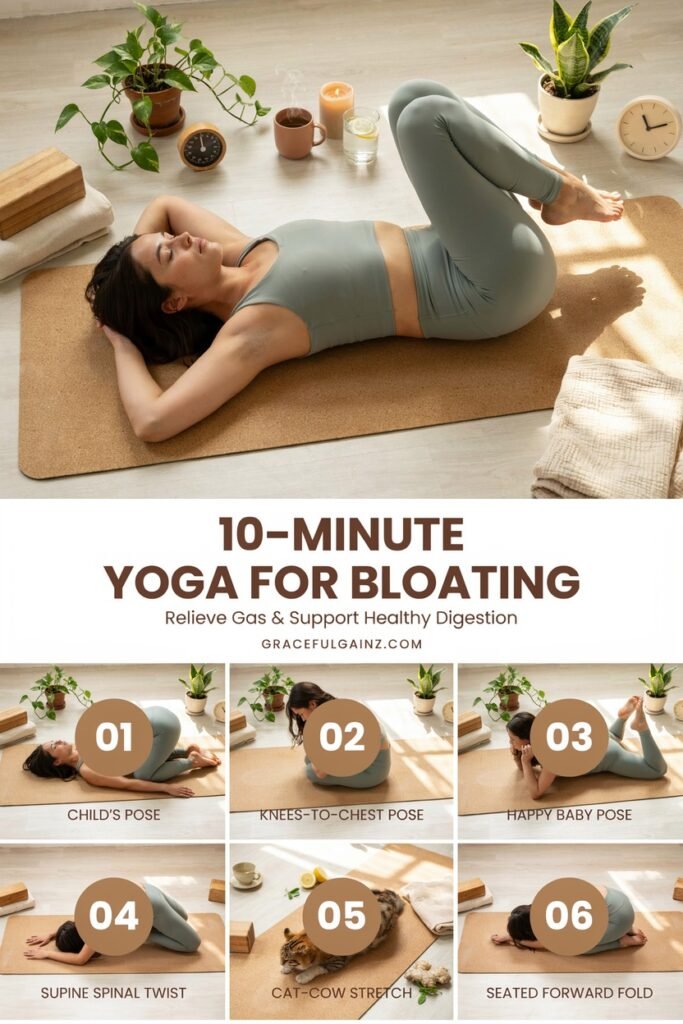
None of it requires any equipment beyond a mat, and it’s gentle enough to do even when you’re already feeling uncomfortable and bloated.
A quick note before starting: this routine is meant for general bloating and occasional digestive discomfort, not as a treatment for a diagnosed digestive condition.
If you have chronic digestive issues, a hernia, are pregnant, or have had recent abdominal surgery, check with your doctor before trying deep twists or compression poses, and skip anything that causes pain rather than gentle pressure or relief.
Why These Specific Poses Help
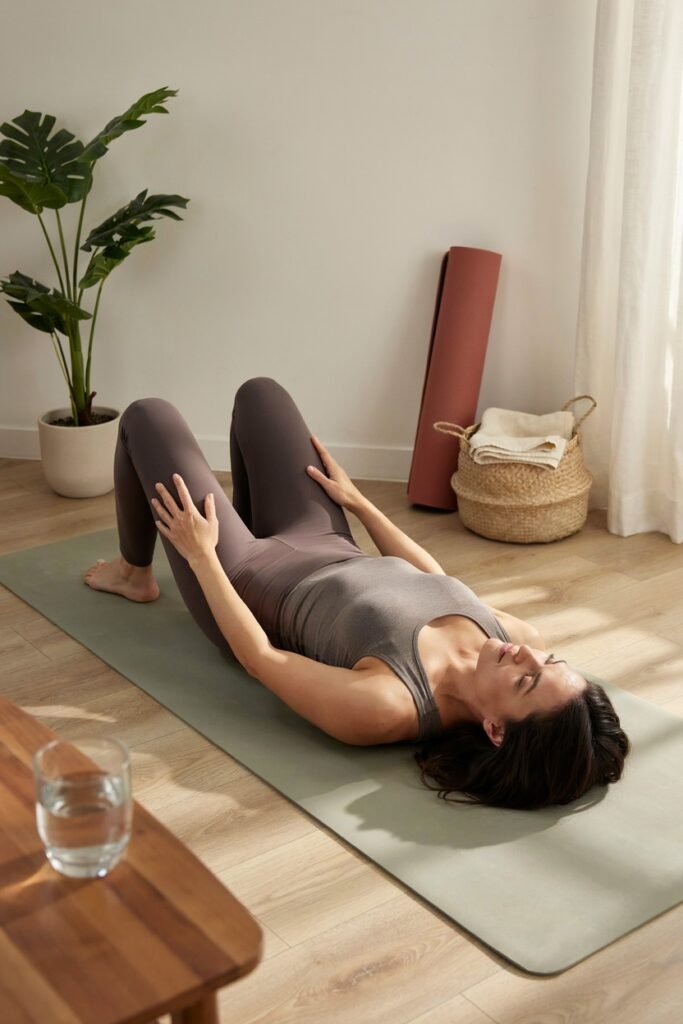
Twists gently compress and then release the intestines. This alternating pressure can help stimulate peristalsis, the wave-like muscle contractions that move contents through your digestive tract, and encourage trapped gas to move along.
Forward folds and knee-to-chest poses apply direct, gentle pressure on the abdomen. This can help physically encourage trapped gas to move and can ease the feeling of pressure and bloating.
Deep, slow breathing throughout activates your parasympathetic nervous system. Since digestion slows down considerably when your body is stressed, the breathing component of yoga isn’t just incidental, it actually supports better digestive function directly.
The Science Behind Why This Actually Works
Digestion is largely controlled by what’s called the “rest and digest” branch of your nervous system, the parasympathetic nervous system, which works in direct opposition to the “fight or flight” stress response.
When you’re stressed, anxious, or tense, blood flow and nerve activity shift away from digestive function, which is part of why stress and bloating so often show up together.
Slow, deep breathing directly stimulates the vagus nerve, a major nerve that runs from your brainstem down through your abdomen and plays a central role in regulating digestion, heart rate, and your overall stress response.
Activating it through slow breathing is genuinely one of the more well-supported mechanisms behind why yoga and breathwork can ease digestive discomfort, not just a general wellness claim.
The physical compression from twists and forward folds works through a more direct, mechanical pathway.
Alternating gentle pressure and release on the abdomen can help stimulate the smooth muscle contractions of the intestines, encouraging movement of both gas and waste through the digestive tract, similar in principle to how a gentle abdominal massage is sometimes recommended for the same purpose.
The 10-Minute Routine
1. Seated Deep Breathing (1 minute)
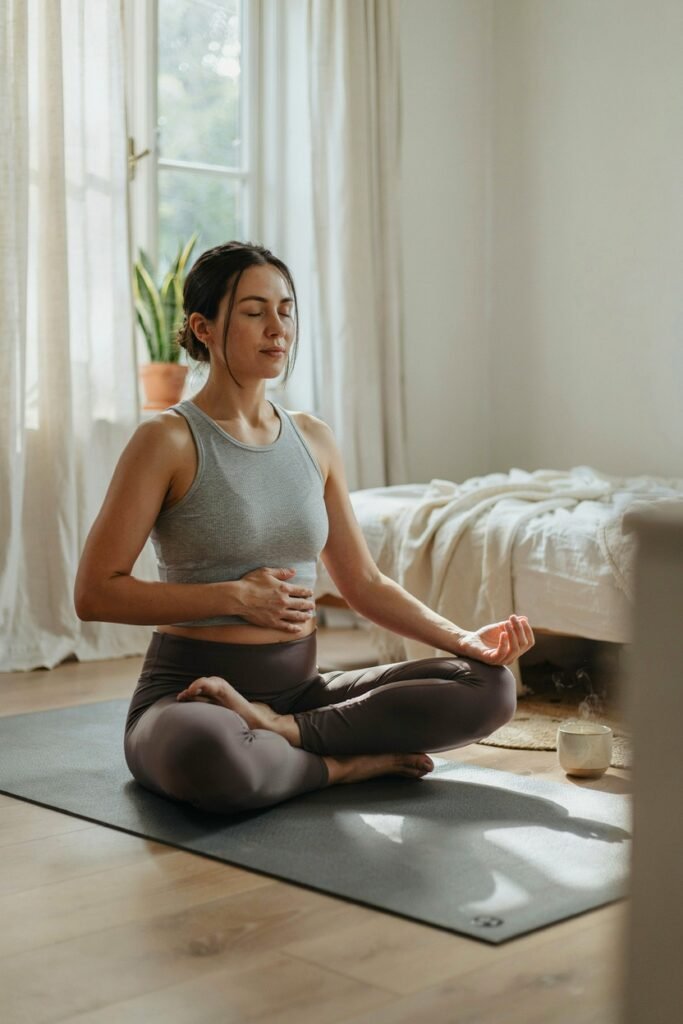
Sit comfortably, either cross-legged or in a chair, with a straight spine.
Place one hand on your belly and breathe in slowly through your nose, letting your belly expand outward, then exhale slowly and fully.
This isn’t just a warm-up, deep belly breathing itself gently massages the digestive organs and helps shift your body out of a stressed state, which supports better digestion from the very first minute.
2. Cat-Cow Pose (1 minute)
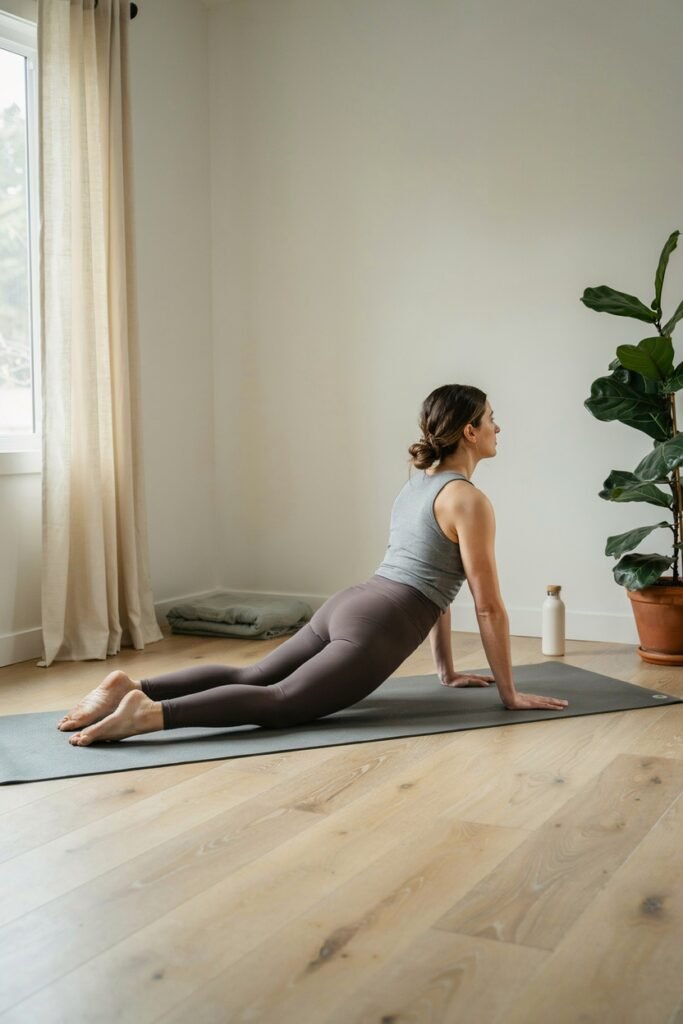
Come onto your hands and knees, wrists under shoulders and knees under hips.
Inhale as you drop your belly and lift your chest and tailbone (cow), then exhale as you round your spine, tucking your chin and tailbone (cat).
Move slowly and continuously between the two, syncing the movement with your breath. This gentle spinal movement massages the abdominal organs with each transition.
3. Child’s Pose (1 minute)
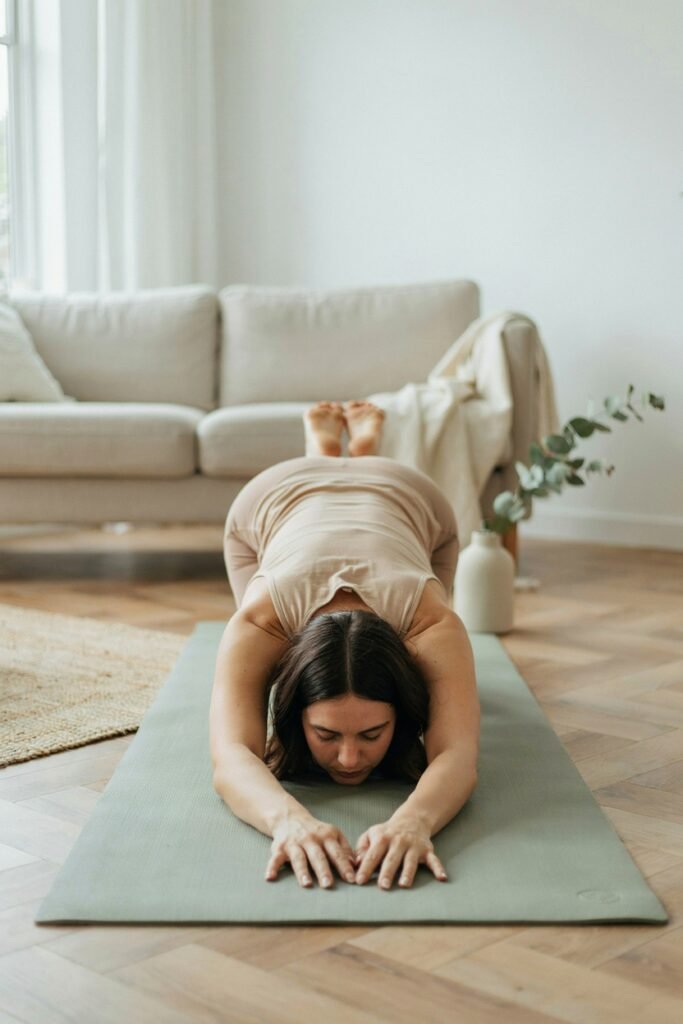
From hands and knees, sit your hips back toward your heels, extending your arms forward and lowering your forehead to the mat.
Let your belly rest against your thighs. This position applies gentle, direct compression to the abdomen, which can help ease trapped gas.
Breathe slowly and deeply here, feeling your belly press against your legs with each inhale.
4. One-Legged Wind-Relieving Pose (1 minute)
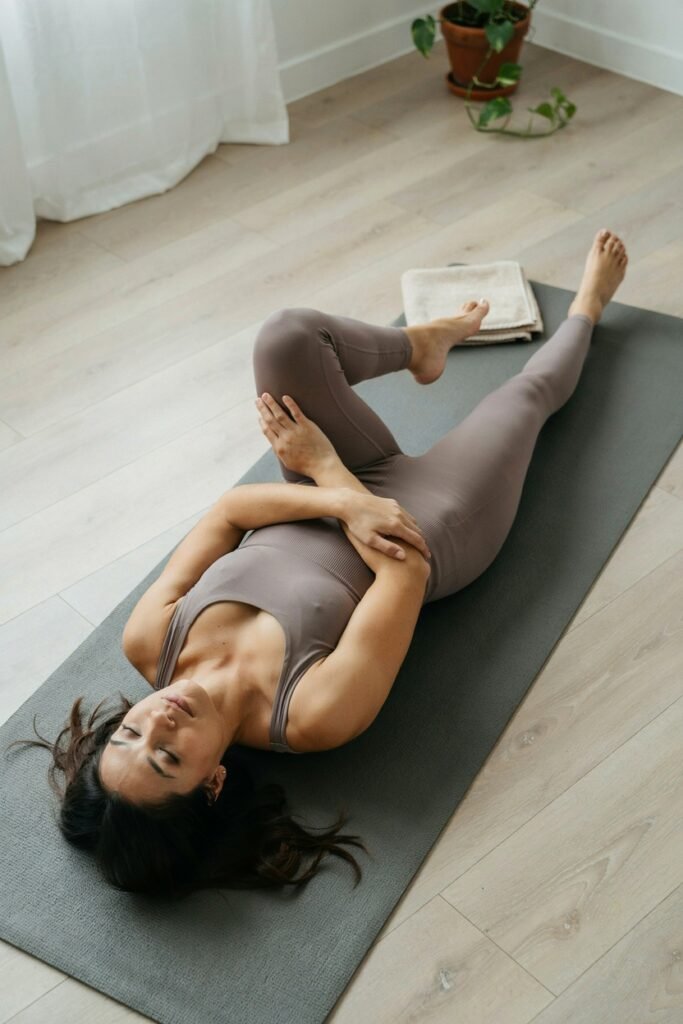
Lie on your back and draw one knee into your chest, wrapping both arms around your shin while keeping the other leg extended flat on the mat.
Hold for about 30 seconds, then switch legs. Working one side at a time like this targets each side of the colon individually, which can be especially helpful if your bloating feels more concentrated on one side.
5. Full Wind-Relieving Pose (1 minute)
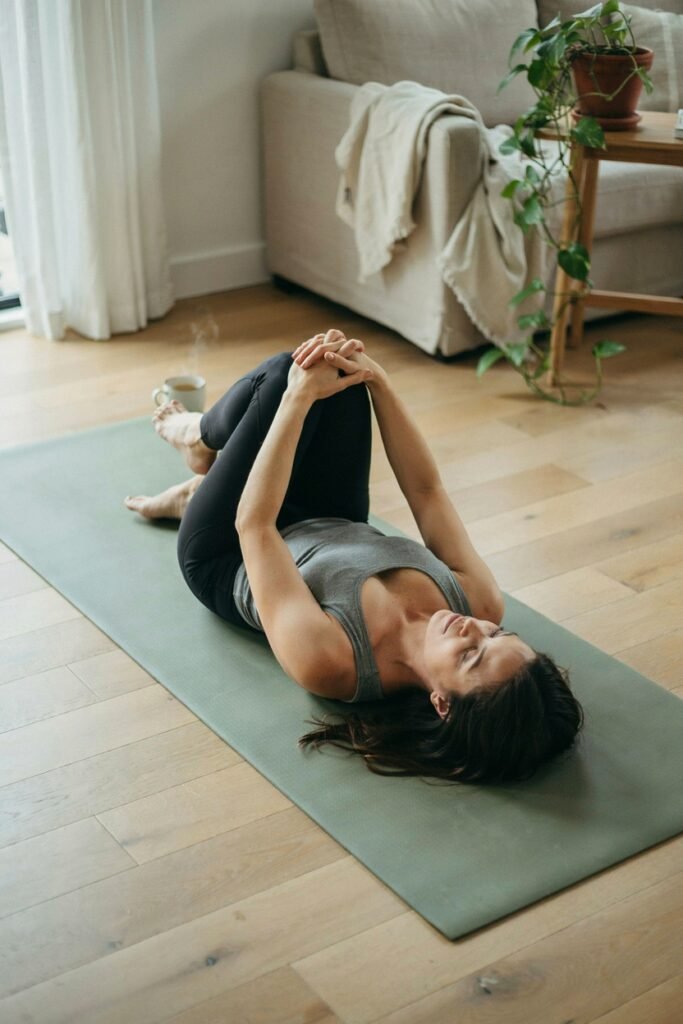
Now draw both knees into your chest at once, wrapping both arms around your shins.
Gently rock side to side, or hold still if rocking feels uncomfortable.
This pose is specifically named for its traditional use in relieving trapped gas, and the fuller compression across the entire lower abdomen is exactly why it’s included as its own step here.
6. Supine Twist, Right Side (1 minute)
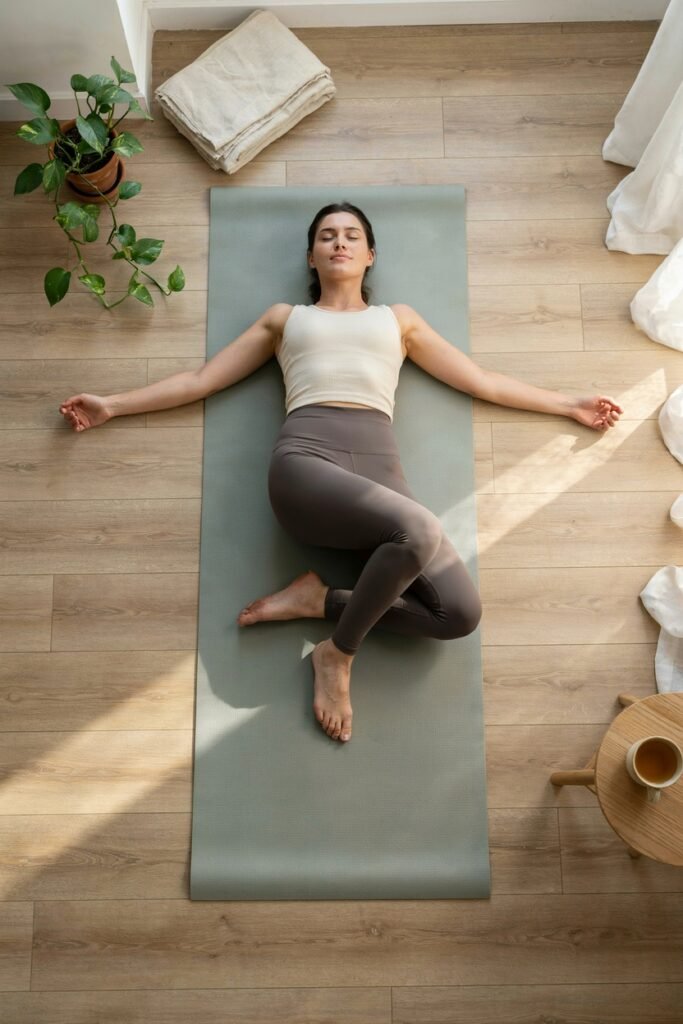
Lying on your back with knees bent, drop both knees to the right side while keeping your shoulders flat on the mat, extending your arms out to the sides. Breathe deeply, letting the twist deepen slightly with each exhale.
7. Supine Twist, Left Side (1 minute)
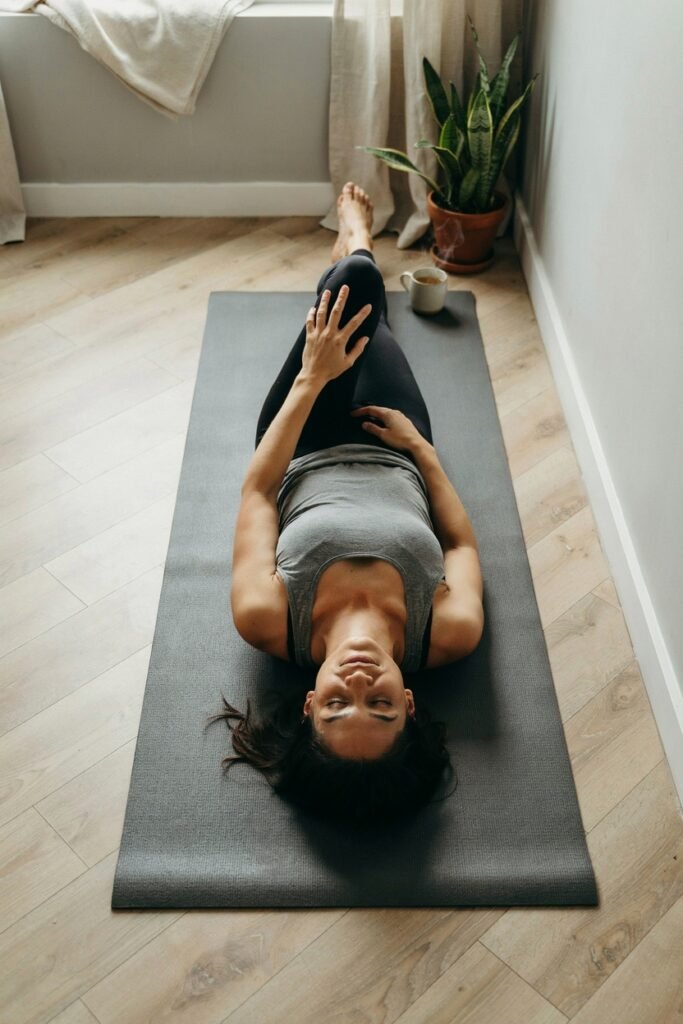
Bring your knees back to center, then drop both knees to the left side, mirroring the same position.
Working each side as its own dedicated minute, rather than rushing through both quickly, gives each side of the abdomen a full, unhurried compression.
8. Seated Twist, Right Side (1 minute)
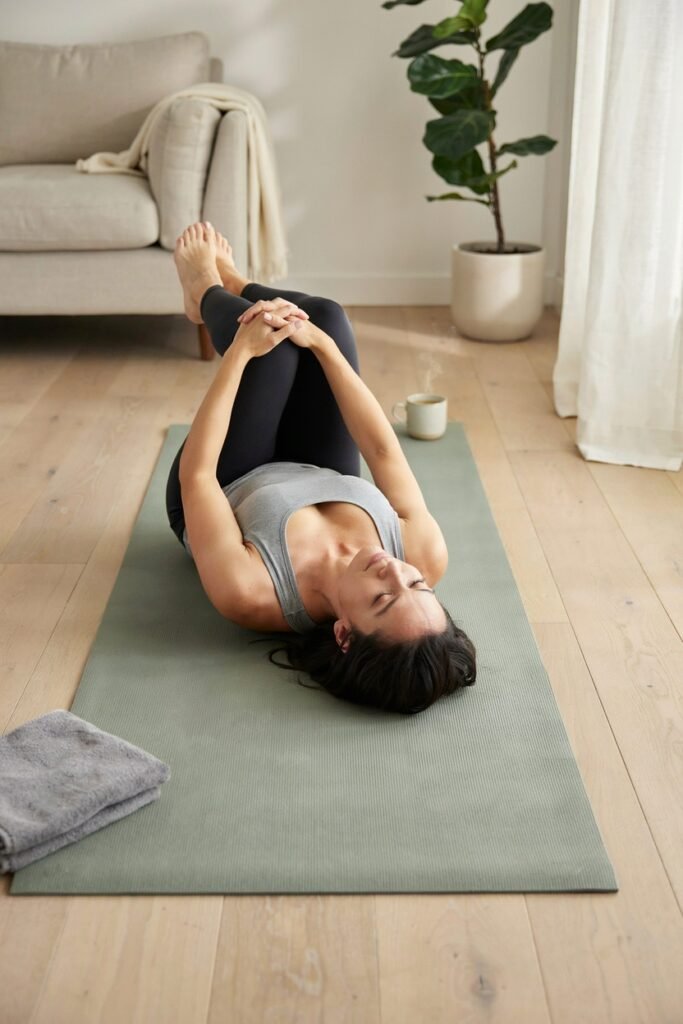
Come up to a seated position with legs extended or crossed, and place one hand behind you for support.
Inhale to lengthen your spine, then exhale as you twist to the right, using your other hand on your opposite knee for gentle leverage.
9. Seated Twist, Left Side (1 minute)
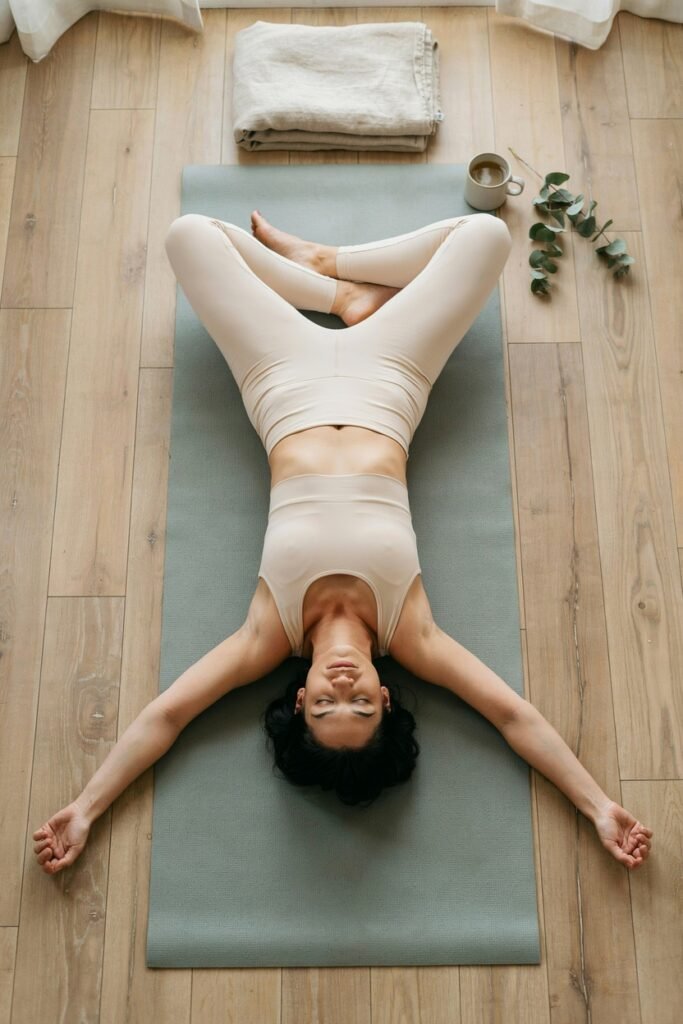
Return to center, then repeat the same twist to the left side. This more upright, active twist works well as a transition back toward sitting up after the floor-based poses.
10. Final Relaxation (1 minute)
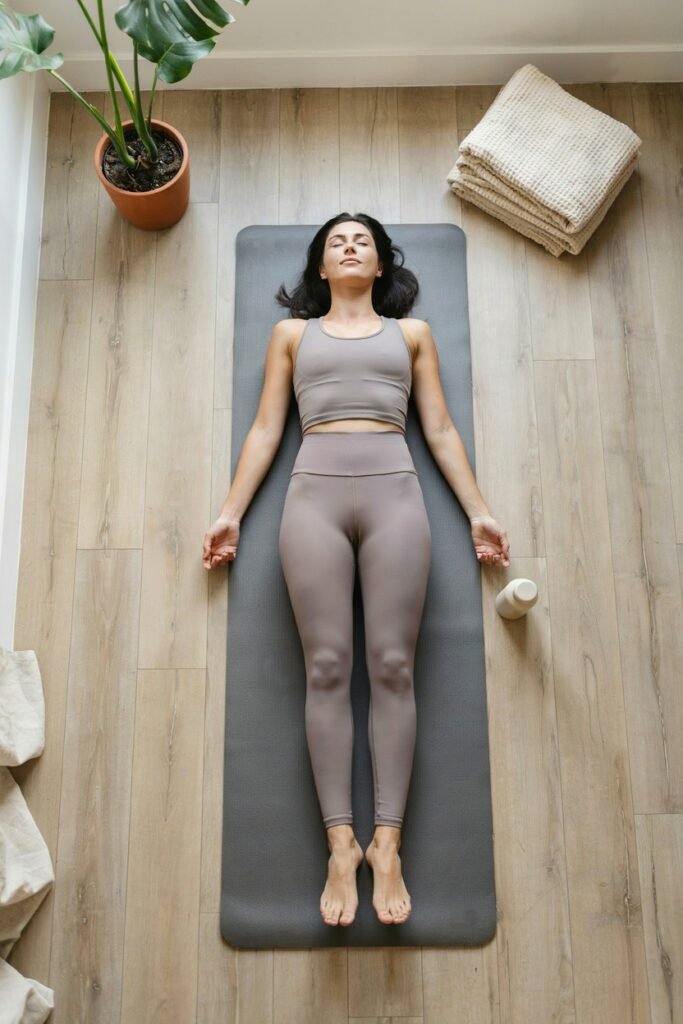
Lie flat on your back, arms relaxed at your sides, and simply breathe naturally for the final minute.
Let your body fully settle after the sequence, allowing the digestive benefits of the movement and breathing to continue settling in.
Tips for Getting the Most Out of This Routine
- Do this on an empty-ish stomach if possible. A very full stomach can make the compression poses uncomfortable rather than helpful, so if you’re doing this right after eating, wait at least 20 to 30 minutes to let the initial fullness settle first.
- Move slowly, especially into and out of twists. Rushing the transitions reduces the gentle massaging effect these poses are meant to provide, and jerky movements are also more likely to cause a strain than a slow, controlled one.
- Breathe deeply and consistently throughout, not just during the seated breathing pose. The breath component matters through the whole sequence, not just the first minute, so keep checking in with your breathing even as you move through the twists and folds.
- Skip or modify anything that causes actual pain. Mild pressure or a stretching sensation is normal; sharp pain is not, and is a sign to back off that particular pose.
- Consistency matters more than intensity here. A gentle 10-minute routine done regularly, especially after larger meals, tends to help more than an occasional, more intense session.
- Use a timer instead of guessing at one minute per pose. It’s easy to rush through poses that feel less exciting and linger too long on ones that feel good, and a simple phone timer keeps the routine balanced and genuinely 10 minutes.
- Keep your movements small and controlled rather than big and forceful. The goal with the twists especially is gentle, repeated compression, not a deep, straining stretch, so err on the side of less intensity than you think you need.
- Try doing this routine in the same general time window daily if you can. Whether that’s morning, after lunch, or before bed, building it into a consistent slot makes it much more likely to actually stick as a habit rather than something you only remember when already uncomfortable.
- Keep a glass of water nearby and sip afterward, not during. Sipping mid-pose can interrupt your breathing rhythm, but hydrating right after the routine supports the same digestive process you just worked on.
- Don’t skip poses just because they feel less “active.” Child’s pose and the final relaxation often get rushed or skipped because they feel passive compared to the twists, but the compression and nervous system benefits from those quieter poses are just as real.
- If you’re doing this specifically after a meal that felt heavy or gassy, start with the wind-relieving poses rather than saving them for the middle of the sequence. There’s no strict rule that says you have to follow this exact order every time, and leading with the poses that target your specific discomfort is a completely reasonable adjustment.
Modifications for Beginners or Limited Mobility
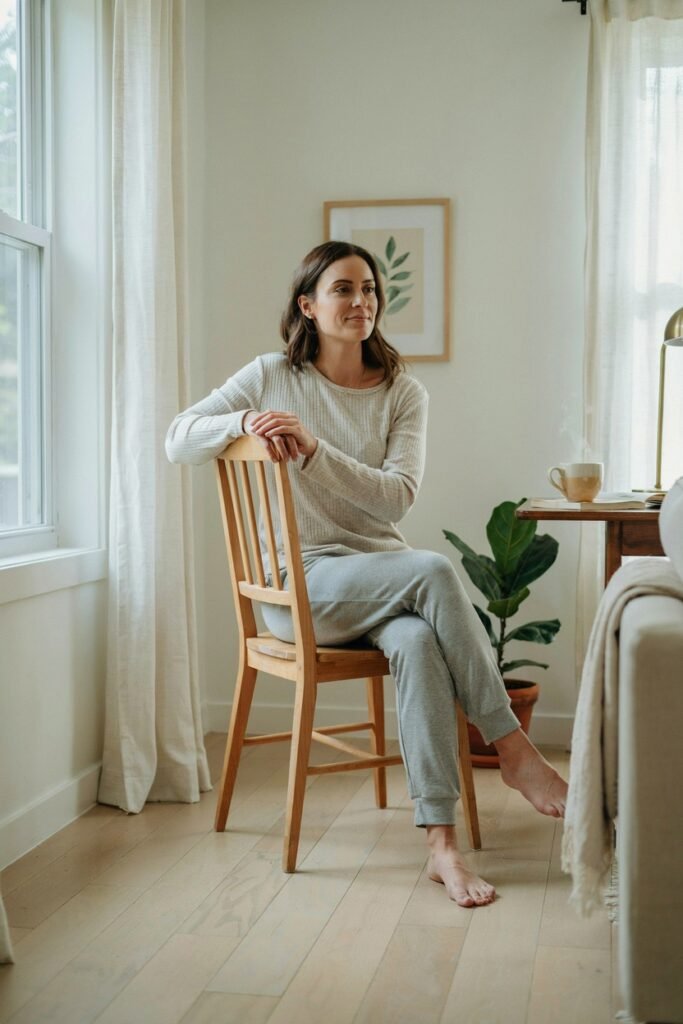
If getting onto the floor is difficult, most of these poses have a seated or standing alternative. Seated deep breathing and seated twists can be done entirely in a chair, and a standing forward fold can replace child’s pose if getting down to the mat isn’t comfortable.
If pulling both knees into your chest feels like too much pressure, try one leg at a time instead, alternating sides, which still provides the same gentle compression with less overall intensity.
If lying flat on your back is uncomfortable, prop your head and shoulders up slightly with a pillow during the supine twist and final relaxation pose, which doesn’t reduce the benefit meaningfully.
If a full seated twist strains your lower back, keep the twist smaller and more gentle, focusing on the breath and slight rotation rather than trying to twist as far as possible. The compression effect comes from the twisting motion itself, not from how deep the twist goes.
If you’re doing this from a wheelchair or with significant mobility limitations, the seated breathing and seated twist poses can be adapted to a seated position entirely, and gentle self-massage in a clockwise direction around the belly button can provide a similar compression effect to the floor-based poses.
Other Habits That Pair Well With This Routine
A short walk after eating. Even five to ten minutes of gentle walking after a meal supports digestion in a similar way to these poses, through gentle movement rather than static compression, and the two pair well together if bloating is a frequent issue for you.
Staying consistently hydrated throughout the day, not just when already bloated. Dehydration is a common, underappreciated contributor to constipation and bloating, and adequate water intake supports the same digestive processes this routine is trying to encourage.
Eating slowly and chewing thoroughly. A lot of gas and bloating comes from swallowed air during rushed eating, so slowing down at the meal itself addresses part of the problem before it starts.
Warm peppermint or ginger tea after a meal. Both are commonly used to support digestion and can pair naturally with this routine, either before or after, as part of a broader post-meal habit.
Common Mistakes to Avoid
Holding your breath during twists and compression poses. This is a very common habit, but it actually works against the goal, since shallow or held breath reduces the gentle internal massaging effect these poses rely on.
Moving too quickly through the sequence. Rushing reduces the time your organs actually spend under gentle pressure, which is where a lot of the benefit comes from.
Forcing a deeper twist or fold than feels comfortable. More intensity isn’t the goal here, gentle, sustained pressure is what actually helps, not pushing into pain.
Skipping the final relaxation pose because it feels unnecessary. This settling period is part of what allows your nervous system to stay in the relaxed state that supports better digestion.
Who Should Be Cautious or Skip This Routine
- Anyone with a diagnosed hernia, since increased abdominal pressure from twists and compression poses can aggravate this condition.
- Anyone pregnant, particularly avoiding deep twists and lying flat on the back for extended periods, especially in later trimesters. Check with your doctor for pregnancy-safe alternatives.
- Anyone with a recent abdominal surgery or injury, until fully cleared by a doctor.
- Anyone experiencing severe abdominal pain, rather than typical bloating discomfort, since this could indicate something requiring medical attention rather than a yoga sequence.
Frequently Asked Questions
How quickly does this actually help with bloating? Many people feel some relief within the 10 minutes of the routine itself or shortly after, though this varies by individual and by the underlying cause of the bloating.
Can I do this every day? Yes, this routine is gentle enough for daily use, and many people find it especially helpful as a regular practice after larger meals rather than only when already uncomfortable.
Do I need to be flexible to do this routine? No, none of these poses require significant flexibility. They’re about gentle compression and movement, not deep stretching.
Is this a substitute for medical treatment if I have chronic bloating or digestive issues? No. This routine is meant for general, occasional bloating relief, not as treatment for a diagnosed digestive condition. If bloating is a chronic or severe issue for you, talk to a doctor rather than relying on a yoga routine alone.
What time of day is best for this routine? Either shortly after a meal that’s left you feeling bloated, or as a general practice in the morning or evening, works well. Avoid doing the deeper compression poses immediately after a very large meal, since that can feel uncomfortable rather than helpful.
Final Thoughts
This routine has become a genuine go-to for me on the specific kind of uncomfortable, bloated days that used to just mean lying around waiting for it to pass.
It’s gentle, doesn’t require any equipment, and takes about as long as scrolling through your phone would anyway.
If you try this routine, I’d love to hear which pose felt like it helped the most for you.
This content is for general informational purposes only and is not a substitute for professional medical advice. If you have ongoing or severe digestive symptoms, please consult a healthcare provider.